Kubernetes Course
What is a Namespace?
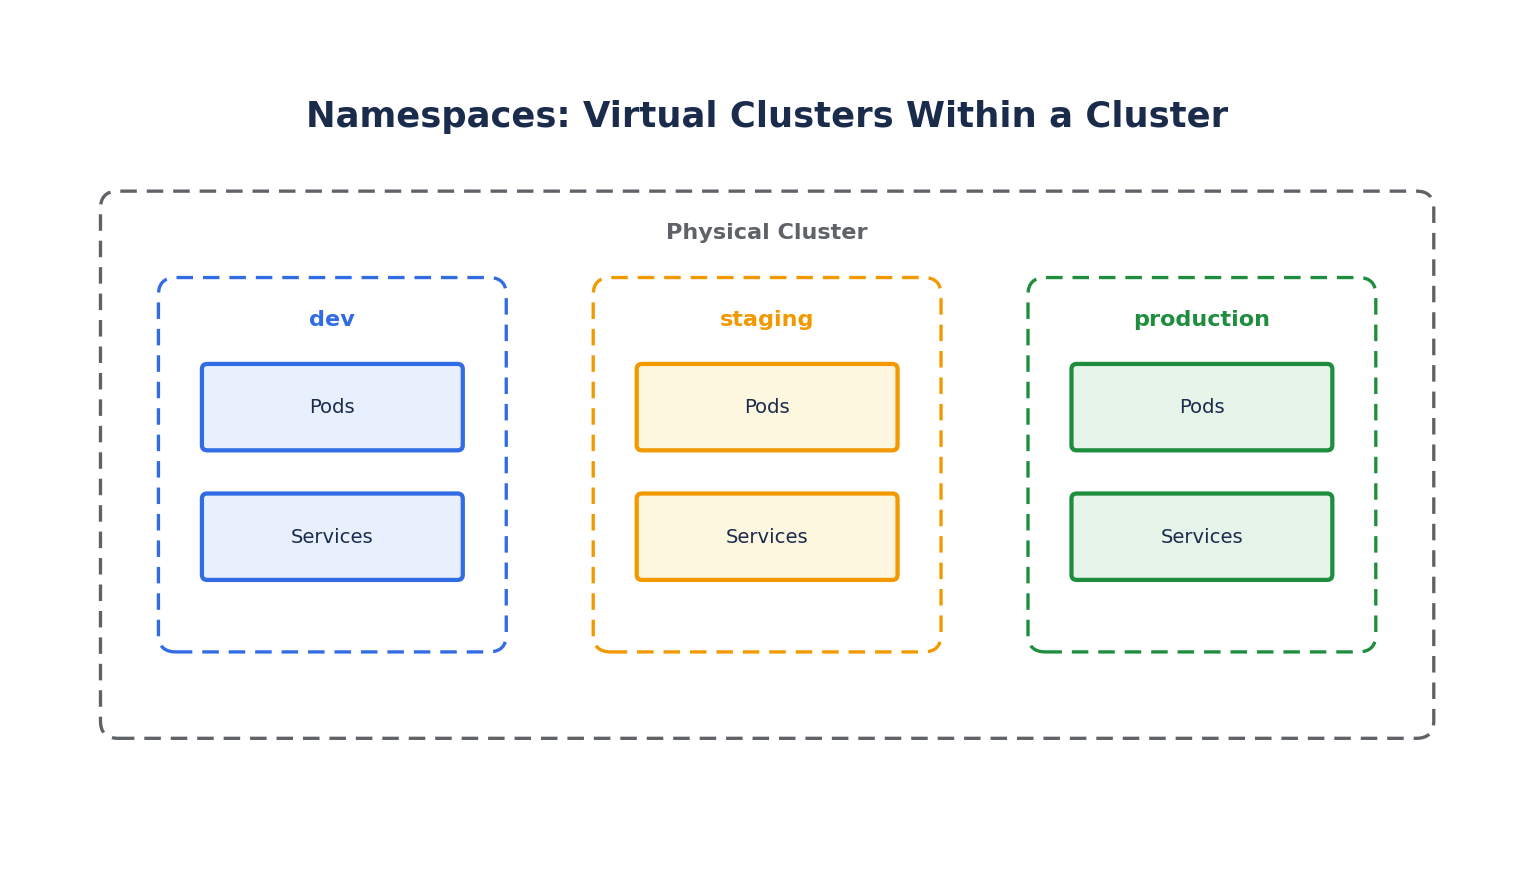
A Namespace is a way to divide a single physical cluster into multiple virtual clusters — a logical grouping for organizing resources, isolating teams or environments, and applying scoped policies. Namespaces do not provide network isolation by default — Pods in different namespaces can still reach each other unless a NetworkPolicy says otherwise (covered in the Networking lesson).
Every cluster starts with four built-in namespaces:
- default: Where objects go if you don't specify a namespace.
- kube-system: Reserved for Kubernetes system components (CoreDNS, kube-proxy, etc.). Avoid deploying your own applications here.
- kube-public: Readable by all users (including unauthenticated ones); rarely used.
- kube-node-lease: Holds Lease objects used for node heartbeats, improving performance of node health checks.
Creating and Using Namespaces
kubectl create namespace staging
kubectl get namespaces
apiVersion: v1
kind: Namespace
metadata:
  name: staging
kubectl apply -f deployment.yaml -n staging
kubectl get pods -n staging
kubectl config set-context --current --namespace=staging   # Switch your default namespace
A common pattern is one namespace per environment (dev, staging, production) or per team, so RBAC rules, resource quotas, and network policies can be scoped independently to each.
Namespaced vs. Cluster-Scoped Resources
Most objects you create (Pods, Deployments, Services, ConfigMaps, Secrets, PVCs) are namespaced — they live inside exactly one namespace. Some objects are cluster-scoped and exist outside any namespace: Nodes, PersistentVolumes, Namespaces themselves, and ClusterRoles.
kubectl api-resources --namespaced=true    # List namespaced resource types
kubectl api-resources --namespaced=false   # List cluster-scoped resource types
ResourceQuotas
A ResourceQuota caps the total resources a namespace can consume — essential in multi-team clusters, so one team can't accidentally (or intentionally) starve the cluster of resources.
apiVersion: v1
kind: ResourceQuota
metadata:
  name: team-quota
  namespace: staging
spec:
  hard:
    requests.cpu: "4"
    requests.memory: 8Gi
    limits.cpu: "8"
    limits.memory: 16Gi
    pods: "20"
    persistentvolumeclaims: "10"
Once applied, any Pod created in staging that would push total resource requests/limits beyond these hard limits is rejected at creation time — the namespace's total consumption, not any single Pod, is what's being capped.
kubectl describe resourcequota team-quota -n staging
LimitRanges
While a ResourceQuota caps totals for the whole namespace, a LimitRange sets defaults and per-object bounds for individual Pods/containers within that namespace:
apiVersion: v1
kind: LimitRange
metadata:
  name: default-limits
  namespace: staging
spec:
  limits:
    - default:
        cpu: "500m"
        memory: "256Mi"
      defaultRequest:
        cpu: "250m"
        memory: "128Mi"
      type: Container
defaultRequestanddefaultare automatically applied to any container in the namespace that doesn't explicitly specifyresources.requests/resources.limits— preventing "noisy neighbor" Pods with no resource declarations at all, which are otherwise the hardest for the scheduler to place safely.- A LimitRange can also enforce minimum and maximum values a container is allowed to request, rejecting Pods that fall outside that range.
Practical Guidance
- Namespaces are a good boundary for RBAC (who can do what) and quotas (how much they can use), but not a substitute for network isolation — pair them with NetworkPolicies if you need to restrict traffic between namespaces.
- A common anti-pattern is putting everything in
default— as clusters grow, this makes RBAC, quotas, andkubectl getoutput unmanageable. Namespace early, even in small clusters.